Buying a classic Mini engine – top tips

Back in the ‘80s and ‘90s, MED’s business was predominantly building A-Series engines and kits, and we would buy complete units from local breakers’ yards, where rotten old Metros and Minis were commonplace. Steve recalls paying around £75 a piece for the donor engines in the ‘90s; these days a 1275 engine can fetch 10 times that…!

It’s been almost 25 years since A-Series engine production came to an end, with the very last Rover MPi Minis rolling from the Longbridge production line in October 2000. So when it comes to finding a good engine for your Mini project, a bit of extra knowledge will hopefully go a long way to success.
If you’re in search of a classic A-Series Mini engine to rebuild, here are some top tips to try and find the best one, and hopefully save yourself time and expense in the process. We’ll focus mainly on the 1275 transverse Mini/Metro engine for now, as that’s our core market, but these tips will apply equally to all A-Series engines.

A-Series or A+ Mini engine?
Later we’ll write a more complete guide on the various differences between an A-Series and A+ engines, but our general advice would be to buy a donor engine on condition rather than provenance, unless you’re all set on a period-correct look.
Your choice of donor engine will largely depend on how particular you are on these details, and where you live, of course. Here in the UK, A+ 1275 Mini engines are still relatively common, fitted as standard to many Metros from 1980, and then returned to the Mini range with the re-launch of the Mini Cooper in 1990.

In addition to Mini production, over 1.5 million Austin Metros were built with an A+ engine, and these cars had an appetite for rust, so a large number of their engines still survive, long after the bodies were scrapped.
Perhaps on an early MkI Mini, you’d prefer to see an original 1275 GT block or even a Cooper S motor under the bonnet, but if you’re less focused on appearance and just wish to build a high performance engine, A+ Mini and Metro engines are more commonplace, newer and usually cheaper.
Besides, by the time you have the block machined and the internals replaced or refreshed, outward appearances - strengthening ribs on the block, different distributor mount and alternator bracket – should be less important than overall condition.
Don’t forget that the very first 1275 A-Series are now 60+ years old, so expect more corrosion and general wear and tear with an early engine than an A+ from the ‘90s.
But it’s not all plain sailing if you’ve found a later A+ block – the last Rover Minis (1996-2000) did not have a distributor, so you’d need to run an ignition management kit like our DTA ECU conversion if you wish to use a carburettor.
Some Mini enthusiasts reckon the earlier A-Series blocks were made from a higher quality grey cast iron than the A+, perhaps a reason for the strengthening ribs, but we’re not convinced.
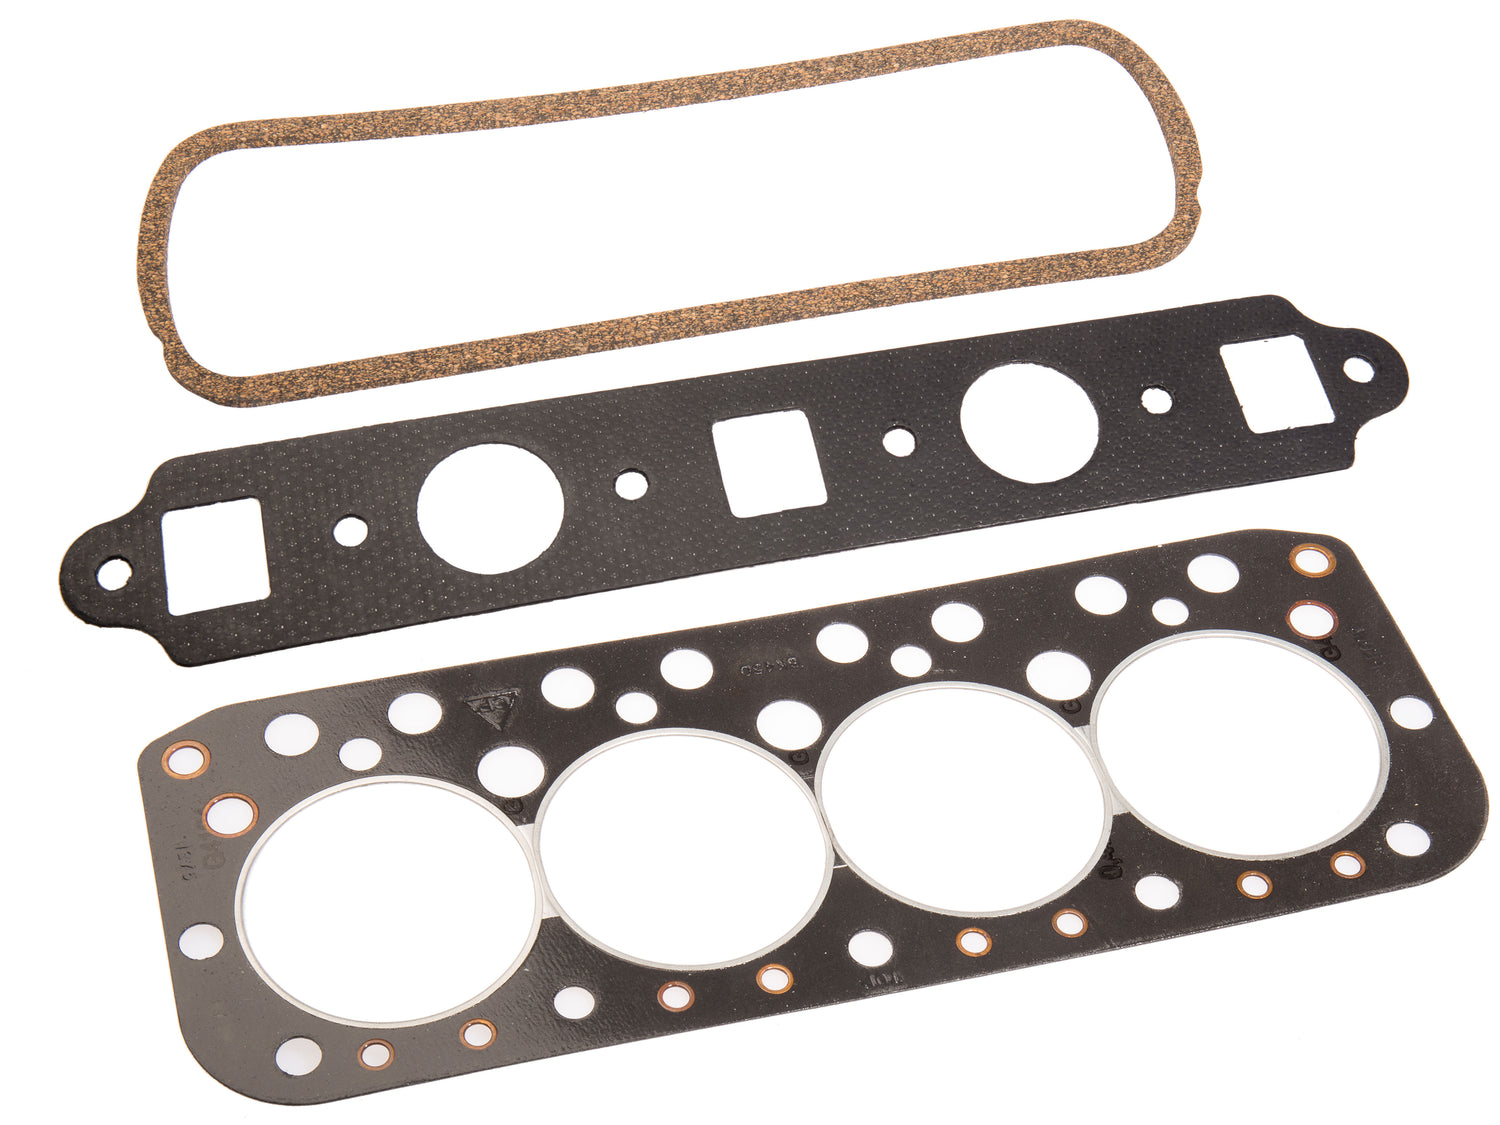
However, we have also seen many A+ engines fitted with liners from the factory to cover-up bore wall imperfections - potentially very expensive if you need to have them re-linered. The standard liners typically only re-bore to +20 oversize.
In reality, we’ve not found any tangible differences in strength between either engine type, however a few years ago we did weigh all of the chemically-cleaned bare blocks we had in stock. The lightest were consistently from SPi (1991-1996) Minis. Do with that information what you will!
Buying a running engine
This is surely the best option when browsing classic Mini engines for sale. If the vendor can fire it up, you’ll be able to tell far more about its condition than a cosmetic once-over.
If you’re planning a full rebuild, it might seem less vital to have it up and running, but at least you’ll know if there’s something fundamentally wrong before you hand over any cash.
Listen for any obvious knocking sounds, look for bad oil leaks, excess smoke from the exhaust, and any creamy residue under the rocker cover cap, where water is mixing with oil. Take a look at the plugs and assess for condition, although this could be a bit misleading if the engine has not been on a long run recently.
If you have access to a compression tester, this will quickly highlight how well the cylinders are sealed by the piston rings, head gasket and valves on the compression stroke.
For a standard 1275 we would be aiming for between 150-170psi across all four cylinders; some were higher compression than others from the factory. You’ll want to crank the engine for around five rotations to give a good solid reading.

If the compression figures are much lower, it’s potentially not a problem if you’re planning a rebuild, however if there are one or two cylinders right down, there’s clearly a major issue, whether that’s a valve stuck open, head gasket failure, or worse. A cracked head or block will render these essential components scrap, so always bear this in mind.

A leakdown test would be more helpful, if practical. Whereas a compression tester screws into a spark plug position and uses the engine as an air pump for the gauge, the leakdown test rig forces compressed air to the cylinder. The test will also pin point where the air is leaking from, as you can often see bubbles from a head gasket, or hear hissing from the exhaust ports.
Buying a non-running Mini engine, complete
If you’re new to Mini engine rebuilding, this is probably your second best option, as the deal will hopefully include all of the engine ancillaries, alongside all of the original fixings, and potentially expensive parts like the gearbox and transfer gear housing. You may not use everything again, but it’s handy to have a complete unit.
Make sure to take a basic socket set so you can remove the spark plugs and turn the engine over by hand to ensure it is not seized solid. With a lever bar behind the crankshaft pulley, gently test for excess end float, which could indicate badly worn thrust washers, or incorrect assembly. Race engines may run up to 0.010” - anything more than this will be cause for concern.
With a bright torch you should be able to see through to the cylinders, but this would be even better with an endoscope, which are relatively affordable these days. Check for deep scores, corrosion and wear. It’s completely acceptable to plan for a re-bore, but if the block is already bored to 73.5mm, 1380cc, the damage could be terminal.
We have also seen engines that look fine externally, but upon further inspection have suffered severe internal failure. On one occasion, three pistons were all at TDC at the same time after a conrod had let go!
Check for an engine number, which should be on a riveted plate to the top of the block near to the alternator mount. Below we have listed the most common Mini engine numbers to help you identify the engine.
If this number is missing, it’s likely the engine has been rebuilt before and the top face skimmed. This could either denote a properly engineered rebuild, or less desirable, a sign of previous head gasket failure.
If the head gasket has failed in a past life, the engine is likely to have overheated. In extreme cases we have seen the paint on the block and head change colour after an overheat, so look out for any heavy discolouration. Also be very wary of an engine that’s had a recent coat of paint to tart up appearances – what may this be hiding?
When engines arrived at MED from the breakers in decades past, some of the dismantling work was more careful than others. Look over the engine and gearbox for signs of ham-fisted engine removal.
We would often find cracked housings and pulled threads, which can be replaced or repaired, but it all needs to be factored in. If a previous owner ripped the engine out with little care, what kind of condition will it be in internally?

If you can, remove the rocker cover and check for overall condition of the rocker assembly. If there’s a valve issue, it should be immediately obvious with the rocker cover removed.
With some vice grips on the gear selector, check that the gearbox goes through all of the gears. Again, you’d hopefully plan to rebuild the transmission, but we’ve seen donor Mini engines before with vital parts removed from inside the gearbox.
Even if the seller may seem trustworthy, maybe they bought the engine from elsewhere many years ago and never checked the basics. At £75 it would be worth a gamble, at £750, spend a while to check what you’re buying.
Buying a stripped-down Mini engine
Buying a Mini engine in pieces makes it far easier to diagnose condition, and would be our preferred option, as we know exactly what to look out for. However, if you’re new to these things, a complete engine, as above, may be a safer bet.
Firstly ask yourself and the seller, why has the engine been stripped down and left; what are they not telling you? Perhaps there’s a genuine reason, but perhaps they found a nasty problem, a hair line crack in the block or head that’s not immediately obvious.
Corrosion will be a major concern on any engine that’s been left exposed to the elements. Refacing of the block and head faces will fix any light corrosion, but anything deeper may render them unserviceable. Likewise, if the crankshaft journals have been open to the elements, it may be too far gone.
Measure the crankshaft journals with a micrometer to check for wear, ovality and if they have been previously reground to a smaller size. All 1275 main bearings should measure 2”, the big ends 1.750” aside from Cooper S, which ran 1.625” big ends.
The end taper on the Mini crankshaft is vital to secure the flywheel correctly, and it is common to find fretting marks where the flywheel has moved over time, often if the main bolt has come undone for some reason. In bad cases, the flywheel can friction weld itself in place and may have been cut off with a grinder or torch.
A badly damaged Mini crankshaft taper usually renders the whole crank scrap; we've heard of weld repairs but never had much success with this.
If oil starvation has caused big end bearing failure, look for signs of excess heat on the crankshaft’s big end journals and the conrods too. Spun bearings are not uncommon in the block and conrods. As a general point, also look for signs of previous botched repairs or ill-considered modifications such as extreme conrod weight loss.
Make sure the engine has the crankshaft main caps fitted and they are correct for the block, as these were line-bored from the factory and must match up. For a race engine this is not a problem, as you would ideally install a fresh set of MED steel main caps and have it line-bored to suit.
Similarly, check the correct differential housing is attached to the gearbox, as these too were line-bored in situ. Obviously ask how many parts are included in the deal, and experience here will help to spot any missing vital components.
You will need a proper bore micrometer to measure the engine’s bore sizes, and to ensure they are not barrel shaped, which is quite a specialist tool. However, vernier callipers will give a rough indication of the bore size. Look for cross-hatched hone marks, and conversely, deep scores in the bore walls.
If the engine has been rebored to 73.5mm, cylinders two and three should have ideally been offset bored outwards by 0.015” to maximise the centre gap. We would be extra wary of buying a used engine block at 73.5mm, as re-linering at this size can prove problematic.

If you’re buying a semi-complete engine, ask to remove the gearbox for better inspection of all the valuable components inside. We can help with the vast majority of transmission components, but if you can re-use items like the gearbox main shaft and synchro hubs, this will save a small fortune. Gearbox housings can crack, so be vigilant, although casting marks are easily confused with cracks.
Removing the gearbox will also give chance to check for cylinder bore liners, which as we mentioned above, have their limitations, and should reduce the asking price accordingly.
From here, check all over the engine block and cylinder head for damaged threads, cracks and general abuse. The top engine steady bar threads and thermostat housing studs are usual suspects.

Hopefully this rough guide will give you a few more pointers when searching for a donor Mini engine block. Good luck, and if you’re looking for high quality replacement parts for the rebuild, you know where we are!
For reference, here are the most common engine number prefixes to point you in the right direction;
8A/8MB/8AM/8AH/8AJ/8AK/8WR/8AC/85H – 848cc Mini
9F-SA/9FD-SA/9FE - 970cc Mini Cooper S
9F - 997cc Mini Cooper
9WR/9AD/9AE/99H-D81,D82/LBB10089 - 998cc Mini
9FA/9FD/99H - 998cc Mini Cooper
9F-SA-H/9FD-SA-H - 1071cc Mini Cooper S
10AMW/10H/10GR/10GRB - 1098cc Mini
12G/H/9F-SA-Y/9FD-SA-Y/9FE-SA-Y - Early 1275cc Mini
12H397/398 - 1275cc Mk3 Mini Cooper S
12HD26 - 1275cc Mini ERA Turbo
12A - 1275cc A+
January 2024


